
Thinking about switching to solar but not sure where to even start? You’re not alone. Most homeowners picture a complicated, months-long process with piles of paperwork and confusing technical jargon. The truth is, once you understand the actual steps, solar installation is a lot more straightforward than it seems.
This guide walks you through exactly what happens from the day you decide to go solar to the day your panels start generating power — no confusing terms, no fluff.
TABLE OF CONTENT
- Why Homeowners Are Making the Switch
- Step 1: Understanding Your Home’s Energy Needs
- Step 2: Site Assessment and Feasibility Check
- Step 3: Choosing the Right System Design
- Step 4: Applying for Permits and Approvals
- Step 5: Mounting the Solar Panels
- Step 6: Electrical Wiring and Inverter Setup
- Step 7: Testing and Commissioning
- Step 8: Monitoring and Ongoing Maintenance
- How Long Does the Whole Process Take?
- Common Mistakes to Avoid
- Wrapping Up
- Frequently Asked Questions
Why Homeowners Are Making the Switch
Rising electricity bills, frequent power cuts, and a growing interest in clean energy have pushed more households toward rooftop solar. Beyond the environmental benefits, a well-planned solar installation can cut your monthly power costs significantly and even qualify you for government subsidies under schemes like PM Surya Ghar Muft Bijli Yojana.
But here’s the catch: the value you get out of your system depends entirely on how well the solar installation is planned and executed. Rushing this process, or skipping steps, is where most homeowners run into trouble later.
Step 1: Understanding Your Home's Energy Needs
Before any solar panel installation begins, you need a clear picture of how much electricity your household actually consumes. Pull out your last few electricity bills and check your average monthly usage in units (kWh). This number determines the size of the system you’ll need.
Why This Step Matters
Installing an oversized system wastes money. Installing an undersized one leaves you still dependent on the grid. A proper energy audit — sometimes called a site viability study — looks at your consumption pattern, roof space, and future power needs before recommending a system size.
Step 2: Site Assessment and Feasibility Check
Once your energy needs are mapped out, the next step in the residential solar installation journey is a physical site visit. A technician checks:
- Roof orientation and available shadow-free area
- Roof strength and structure
- Sunlight exposure across different times of day
- Local weather and terrain conditions
This is a critical stage because even the best solar panels won’t perform well if the roof gets shaded for half the day or if the structure can’t support the mounting frame.
Step 3: Choosing the Right System Design
Not every rooftop needs the same setup. Depending on your goals and budget, your solar installation can be:
- On-grid systems – Connected to the electricity grid, ideal for homes that want to reduce bills without battery backup.
- Off-grid systems – Fully independent, best suited for areas with unreliable grid access.
- Hybrid systems – Combine solar with battery storage, giving you backup power during outages.
A good system-specific design considers panel placement, wiring layout, and inverter positioning to get the most output from the available roof space.
Step 4: Applying for Permits and Approvals
Here’s a part most people forget about — solar installation isn’t just a technical job, it also involves paperwork. You’ll typically need approvals from your local electricity distribution company, along with documentation for net metering (the system that lets you send surplus power back to the grid in exchange for credits).
If you’re eligible for subsidy benefits, this is also the stage where applications get filed. Handling this correctly avoids delays later when you’re ready to switch your system on.
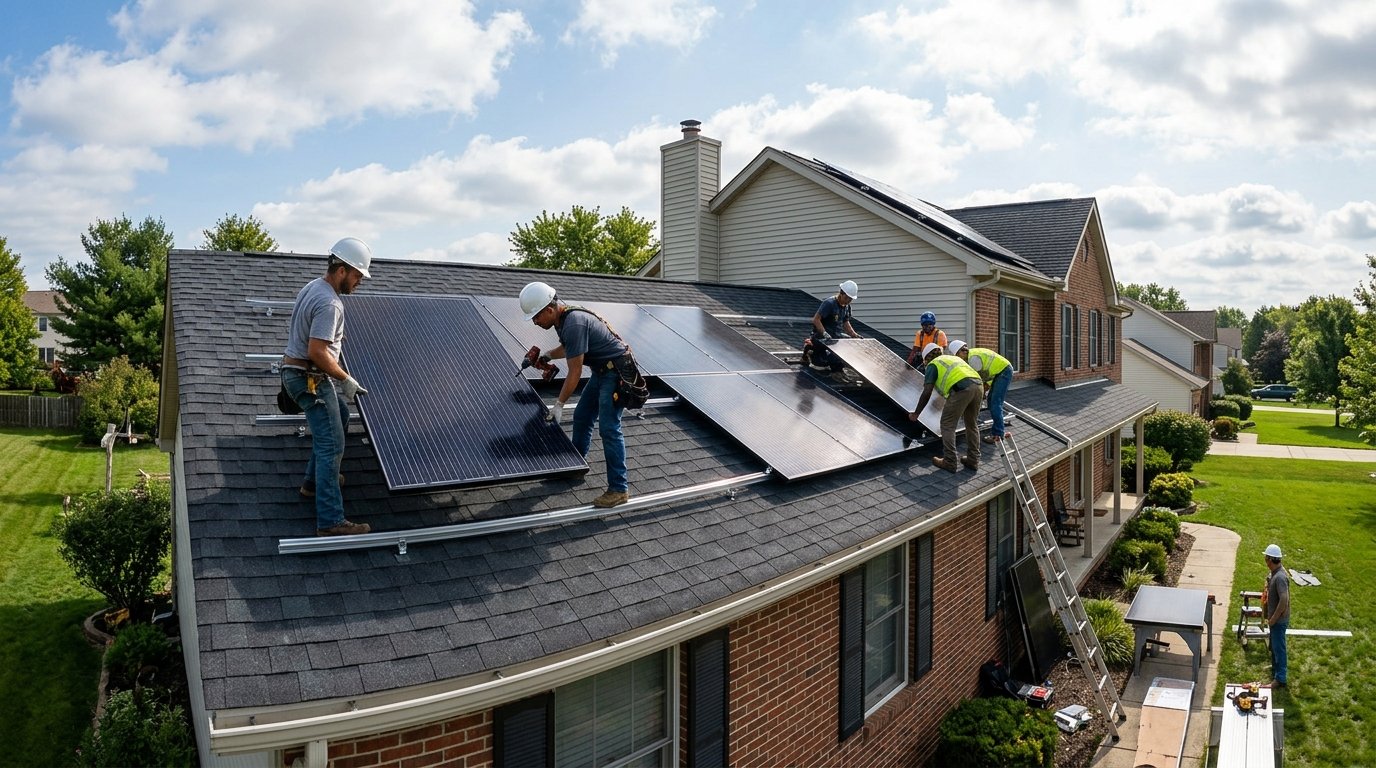
Step 5: Mounting the Solar Panels
This is where things get physical. The mounting structure is fixed to your roof first, angled to capture maximum sunlight based on your location. In most parts of India, panels are tilted to face south for optimal exposure.
Once the frame is secure, the panels are mounted and bolted into place. This part of the solar panel installation process usually takes a day or two, depending on system size and roof complexity.
A Quick Note on Roof Types
Sloped roofs, flat roofs, and tin roofs all need slightly different mounting techniques. A team experienced in residential solar installation will already have the right hardware for your specific roof type, so it’s worth asking about this during your site visit.
Step 6: Electrical Wiring and Inverter Setup
Once panels are in place, the wiring connects them to the inverter — the device that converts the DC electricity generated by your panels into the AC electricity your home actually uses. The inverter is usually installed in a shaded, ventilated spot close to your main electrical panel.
This stage also includes connecting your battery storage, if you’ve opted for a hybrid setup, so you have backup power ready for outages.
Step 7: Testing and Commissioning
Before your system goes live, every connection is tested for safety and performance. This includes checking:
- Voltage and current output
- Earthing and safety switches
- Inverter display and monitoring app functionality
- Net metering connection with the utility provider
Only after this testing phase does your solar installation officially get “commissioned,” meaning it’s cleared to start generating power for your home.
Step 8: Monitoring and Ongoing Maintenance
Your solar journey doesn’t end once the panels are switched on. Most modern systems come with a mobile app that lets you track daily generation, spot dips in performance, and catch issues early. Routine maintenance — like cleaning panels every couple of weeks in dusty areas — keeps output consistent for years.
How Long Does the Whole Process Take?
For most homes, a complete residential solar installation — from the first site visit to commissioning — takes anywhere between one to three weeks. Permit approvals can sometimes stretch this timeline, so it helps to start the paperwork early rather than waiting until the panels are ready to mount.
Common Mistakes to Avoid
- Skipping the site assessment and going straight to installation
- Choosing panel capacity based on budget alone, not actual energy usage
- Ignoring roof shading patterns
- Delaying net metering paperwork
- Picking the cheapest equipment without checking warranty terms
Avoiding these mistakes early can save you both money and frustration down the line.
Wrapping Up
Going solar doesn’t have to feel overwhelming once you break it down into these eight manageable steps. From understanding your energy needs to final commissioning, a properly planned solar installation sets you up for years of reliable, lower-cost power. If you’re ready to explore what a system tailored to your home would look like, it’s worth getting a professional site assessment to see what fits your roof and budget best.