
Imagine purchasing a high-efficiency solar power system, only to discover on installation day that your roof orientation cuts energy generation in half or worse, that your roof framing cannot safely support the mounting structure.
A successful rooftop solar installation requires more than acquiring quality hardware; it demands a thorough pre-installation site evaluation. Conducting a structured site audit beforehand helps identify structural, shading, and electrical bottlenecks, ensuring your system delivers maximum clean energy from day one.
TABLE OF CONTENT
What Is a Pre-Installation Rooftop Solar Audit?
A rooftop solar audit is a systematic evaluation of your home’s structural integrity, solar exposure, roof dimensions, and electrical panel setup to verify if the site can support a photovoltaic (PV) system efficiently.
Key Audit Takeaway:
A proper pre-installation audit prevents structural damage, ensures optimal panel tilt, eliminates shading losses, and verifies that your main distribution board can handle incoming power safely.
4 Critical Steps for a Complete Rooftop Solar Assessment
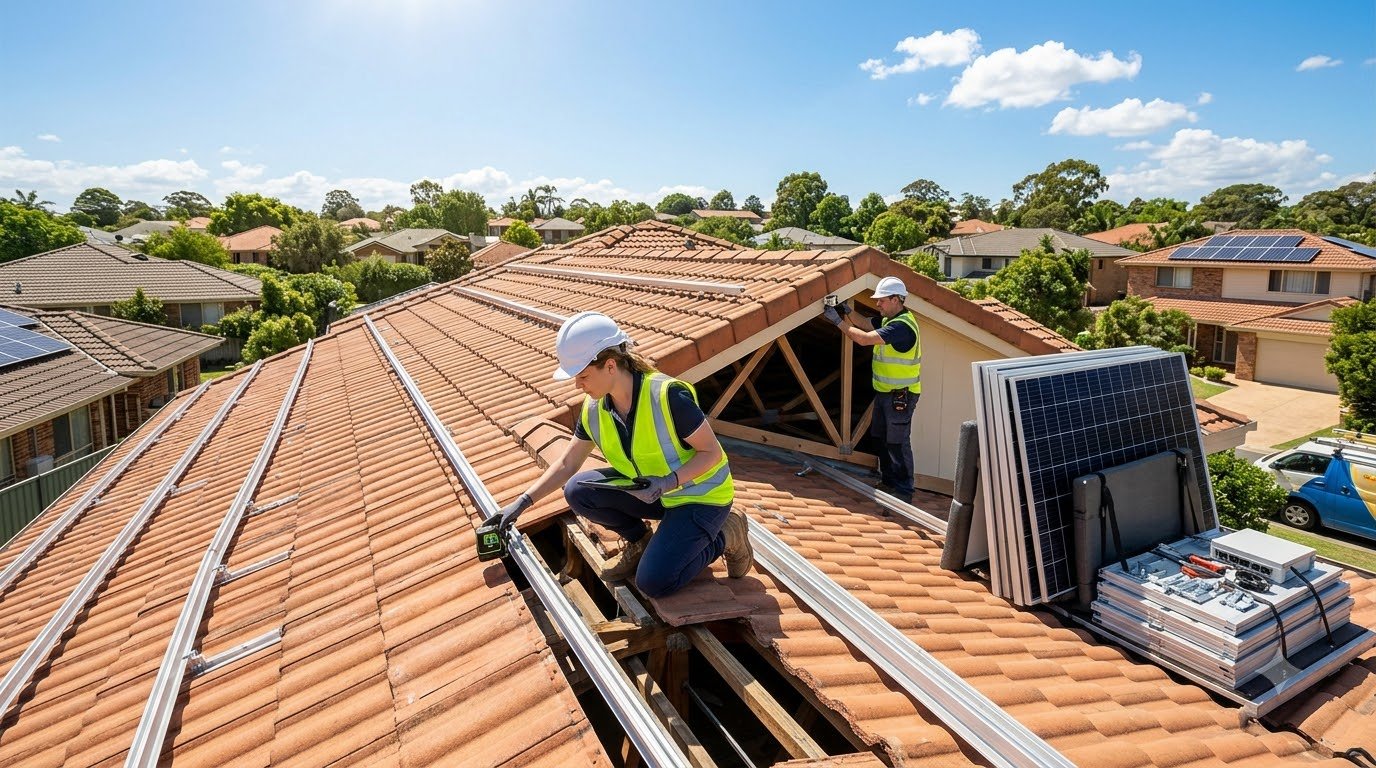
1. Structural Load-Bearing Capacity and Roof Integrity
Solar arrays add continuous dead weight to your building framing and must withstand dynamic seasonal wind pressure.
Dead Weight Evaluation:
Standard PV modules and aluminum mounting racking add approximately 15 to 20 kg per square meter. Reinforced concrete slab roofs handle this load easily. However, tiled, asbestos sheeted, or sloped roofs require dedicated structural rafter inspections before mounting.
Structural Material & Age:
Standard PV modules and aluminum mounting racking add approximately 15 to 20 kg per square meter. Reinforced concrete slab roofs handle this load easily. However, tiled, asbestos sheeted, or sloped roofs require dedicated structural rafter inspections before mounting.
Wind Speed Resistance:
High-rise structures and elevated superstructures require high-wind-resistant mounting clamps to withstand regional storm gusts.
2. Roof Orientation, Azimuth, and Tilt Angle Optimization
The sun’s position dictates how much daily solar irradiance your panels absorb across different seasons.
Ideal Direction (Azimuth Angle):
In the Northern Hemisphere, panels yield maximum energy when facing true South. This orientation maximizes light exposure from mid-morning through late afternoon.
Optimal Tilt Angle:
Panels should match your location’s geographic latitude (typically 12° to 15° across southern regions) to optimize absorption throughout summer and winter.
3. Shadow Analysis and Obstruction Mapping
Even partial shading on a single solar module can significantly drop the energy output of an entire string of panels.
- [ Unshaded Panel Array ] —> 100% Generation Output
- [ 10% Partial Shade ] —> Up to 30–50% Loss (without Micro-Optimizers)
Map out seasonal shadow movement between 9:00 AM and 4:00 PM during your audit:
Nearby Vegetation:
Factor in tree growth and expanding leaf canopies over time.
Civil Structures:
Map shadows cast by overhead water tanks, stairwell rooms (mumty), chimneys, and adjacent multi-story buildings.
4. Electrical Distribution Board and Earthing Readiness
Your home’s internal electrical setup must be rated to route generated solar power into your loads or back to the utility grid.
Main Distribution Board (MDB):
Verify that your service panel contains spare slot space for a dedicated double-pole AC solar circuit breaker.
Earthing & Lightning Protection:
Ensure separate, dedicated earthing pits exist for AC lines, DC lines, and the lightning arrester (LA) to guard against high-voltage surges.
Rooftop Solar Readiness Checklist
Audit Parameter | Ideal Technical Requirement | Action Required If Non-Compliant |
Unshaded Roof Area | ~100 sq. ft. clear space per 1 kW of solar capacity | Clear roof clutter or elevate mounting structures |
Roof Surface Condition | Solid concrete slab or sound framing | Complete waterproofing and structural repairs upfront |
Sunlight Exposure | True South facing; zero shade 9 AM to 4 PM | Adjust tilt/azimuth or install micro-inverters |
Service Board Rating | Busbar capacity matching total plant output | Request utility service connection or board upgrade |
Preparing Your Power System for Long-Term Reliability
Once your site audit confirms structural and solar readiness, pair your solar array with reliable backup components. Combining high-efficiency modules with high-capacity solar battery storage solutions ensures continuous electricity during grid blackouts.
If your locality experiences frequent line voltage fluctuations, integrating an online double-conversion UPS delivers zero transfer time to safeguard sensitive household electronics. To select the ideal system design, explore our comprehensive guide on on-grid vs off-grid solar setups to align your backup requirements with daily power needs.