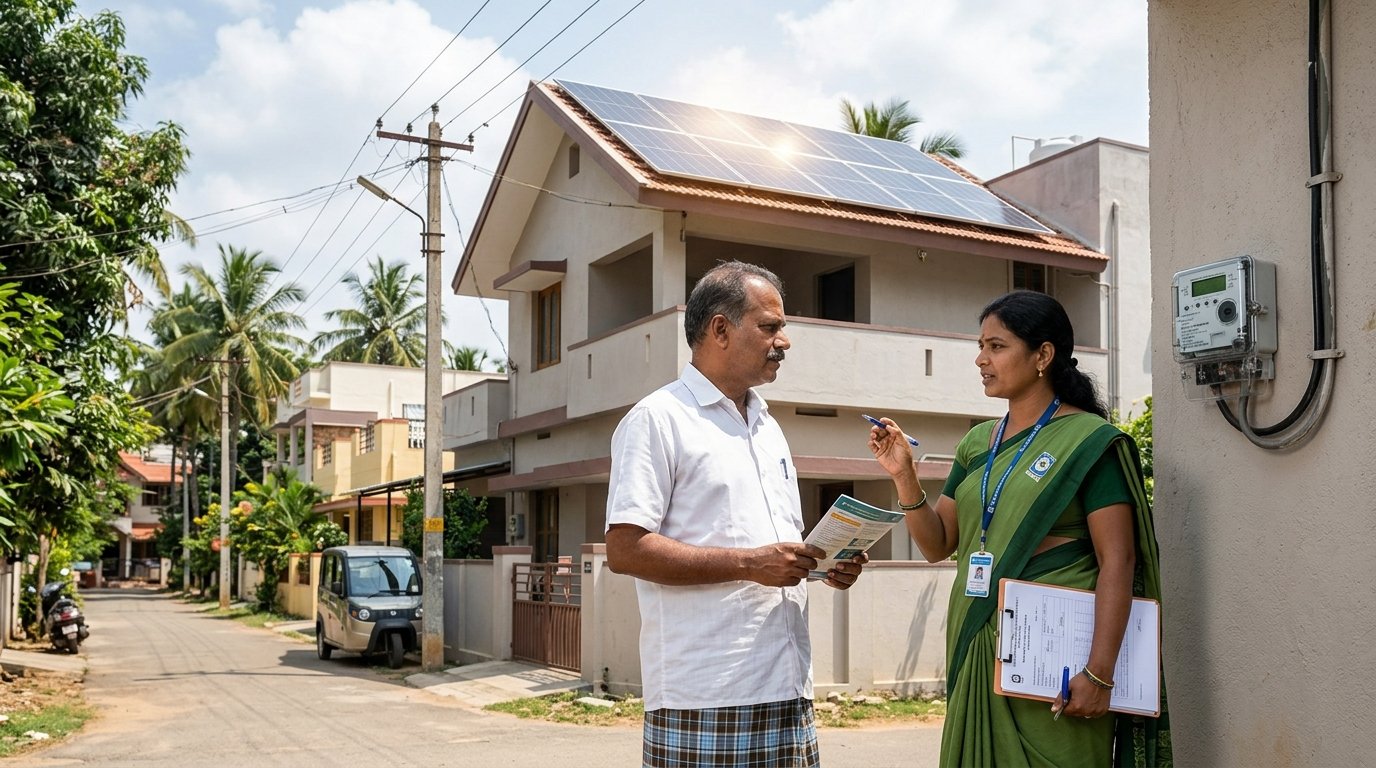
If you’ve been thinking about installing solar panels on your rooftop, you’ve probably come across the term “net metering” more than once. It’s the piece of the puzzle that actually makes solar power financially worthwhile for most homes and businesses in Karnataka. Without it, your solar panels would only be useful while the sun is out. With it, every extra unit you generate gets counted against your electricity bill.
This guide breaks down what net metering is, how it works under Karnataka’s current rules, and exactly how to apply for it — in plain language, without the technical jargon.
TABLE OF CONTENT
What Is Net Metering?
Net metering is a billing arrangement that lets solar power users send unused electricity back to the grid and get credited for it. Instead of installing a battery to store excess solar power, you simply export it to the grid during the day and draw it back at night or on cloudy days. At the end of the billing cycle, you’re only charged for the “net” electricity you actually consumed — hence the name.
In simple terms: your solar panels and the grid work together like a shared account. You deposit power when you generate more than you use, and you withdraw it when you need more than you’re generating.
How Net Metering Works in Karnataka
Karnataka has one of the more mature rooftop solar ecosystems in India, regulated by the Karnataka Electricity Regulatory Commission (KERC). Rooftop solar systems in the state are now officially called Distributed Solar PV (DSPV) plants, and net metering is one of several arrangements available under this framework — alongside net billing, gross metering, and the newer group and virtual net metering options.
The Bi-Directional Meter Explained
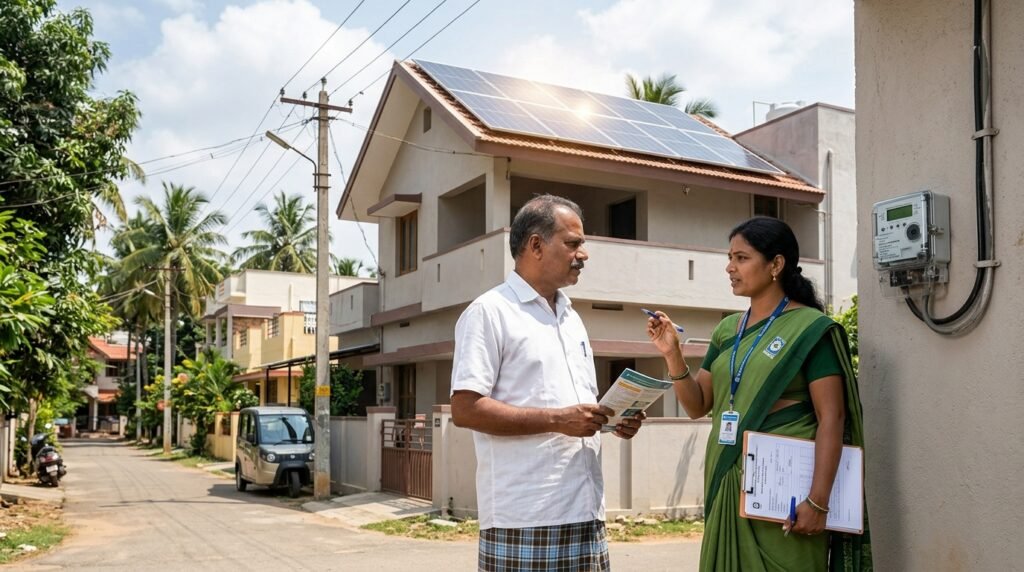
At the heart of any net metering setup is a bi-directional meter. Unlike a regular electricity meter that only measures what you consume, this meter tracks two things separately: the electricity you draw from the grid and the electricity your solar system exports to it. This meter is what makes accurate net metering billing possible, and your DISCOM (electricity distribution company) will install it as part of the connection process.
How Your Bill Is Calculated
Once the bi-directional meter is in place, billing works like this:
- If you consume more than you generate, you pay for the difference at your regular tariff.
- If you generate more than you consume, the surplus is usually carried forward and adjusted against future bills.
- Settlement typically happens on a monthly basis, so any extra units you export don’t just disappear — they roll over.
This is what makes net metering different from simply owning solar panels without a grid connection. You’re not wasting the power you don’t use immediately; you’re banking it.
Who Can Apply for Net Metering in Karnataka
Eligibility depends on your consumer category and system size. Under current KERC rules:
- Net metering is available to domestic consumers, residential apartment complexes, group housing societies, charitable institutions, and government or local authority buildings.
- System sizes generally range from 1 kW upward, with the maximum capacity capped at your sanctioned load or contract demand — subject to an overall limit.
- Commercial and industrial consumers can typically opt for related arrangements like net billing or gross metering, which work slightly differently but follow a similar application process.
If you’re unsure which category your connection falls under, it’s worth checking your latest electricity bill or getting in touch with your DISCOM before applying.
Step-by-Step: How to Apply for Net Metering
Applying for net metering in Karnataka isn’t as complicated as it sounds once you know the sequence:
- Assess your rooftop and consumption. Look at your average monthly electricity usage and available roof space to figure out a suitable system size.
- Choose an approved installer. Pick a vendor who meets KERC’s technical and safety standards — this matters for approval later.
- Submit your application to the DISCOM. This is done through your local distribution company’s online portal or office, along with the required documents.
- Get technical feasibility approval. The DISCOM checks whether your connection and local grid infrastructure can support the proposed system size.
- Install the system and the bi-directional meter. Once feasibility is cleared, your installer sets up the solar panels, and the DISCOM installs the meter needed for net metering.
- Inspection and commissioning. The DISCOM inspects the completed installation before officially connecting it to the grid.
- Start generating and exporting power. From here on, your system runs automatically, and your net metering billing begins from the next cycle.
Recent regulatory updates have also removed the requirement for a Power Purchase Agreement for many low-tension domestic consumers, which has made the overall application process noticeably faster than it used to be.
Documents You'll Need
While requirements can vary slightly by DISCOM, you’ll typically need:
- Proof of identity and address
- Recent electricity bill copy
- Property ownership or occupancy proof
- Technical details of the proposed solar system from your installer
Benefits of Net Metering
- Lower electricity bills by offsetting consumption with self-generated power
- No need for expensive battery storage for most residential setups
- Faster payback period on your solar investment compared to off-grid systems
- Support from schemes like the PM Surya Ghar Yojana, which can further reduce upfront costs for eligible households
Common Mistakes to Avoid
- Oversizing your system beyond your sanctioned load, which can delay approval
- Skipping the feasibility check and installing before DISCOM sign-off
- Choosing an installer unfamiliar with current KERC documentation requirements
Avoiding these small missteps can save weeks in the approval timeline.
Conclusion
Net metering has made rooftop solar genuinely practical for homes and institutions across Karnataka, turning surplus sunlight into real savings on your electricity bill. The process is more straightforward than it appears — the key is choosing the right system size, working with a qualified installer, and following the DISCOM’s application steps in order. If you’re ready to explore your options, working with experienced solar installation professionals can make the entire net metering journey — from feasibility check to final commissioning — considerably smoother.